Product Expiry Tracker AI with KendoReact
This is a submission for the KendoReact Free Components Challenge.
Table of Contents
- What I Built
- Demo
- Video Demo
- KendoReact Experience
- KendoReact Free Components Used
- AIm to Impress
- AI Integration Pictures
What I Built
Product Expiry Tracker AI is an application built on React that helps users monitor the expiry dates of their products. It can be used widely in Supermarkets, drug stores and malls to enable users get real time assessment of their products details. The issue of products expiring on shelves is becoming alarming therefore the need to acquire this application. This Expiry Tracker AI is a real world application that solves real problems and it is powered by React and includes at least 10 KendoReact free Components. This project was built from scratch within the time frame of this challenge.
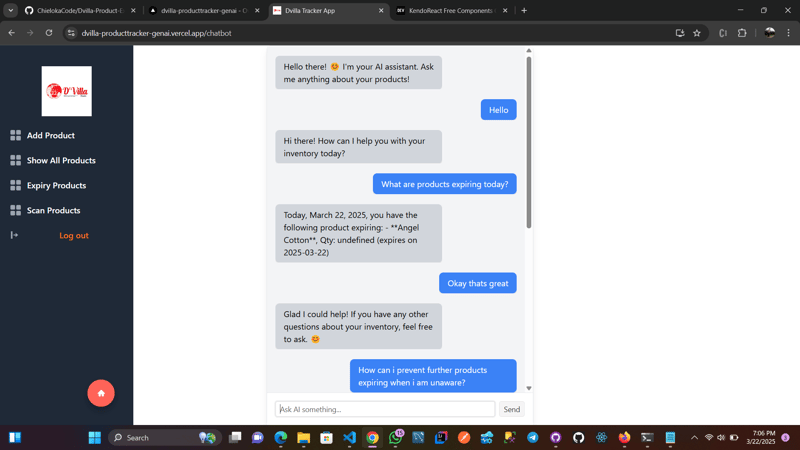
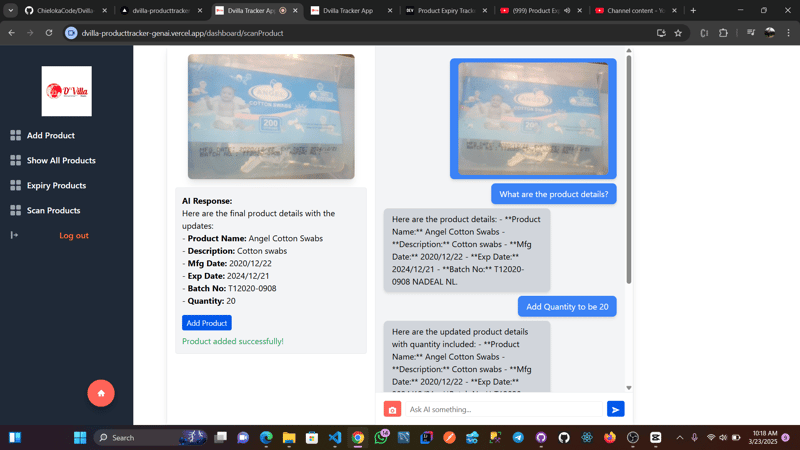
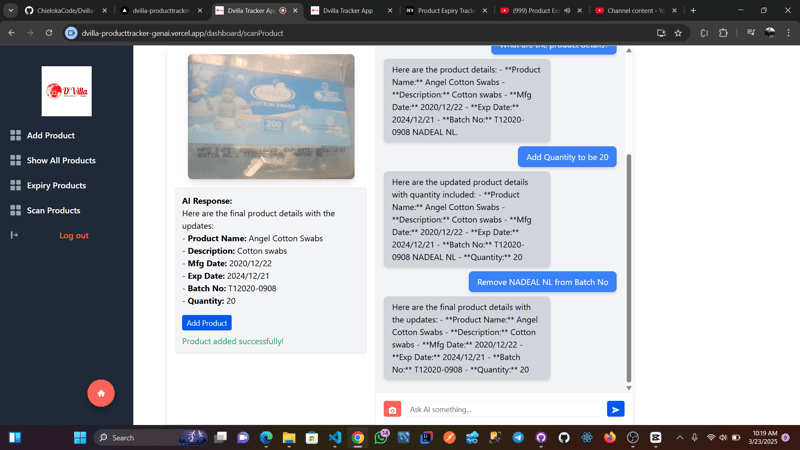
The project integrates AI to give summaries of product details in the inventory, together with actionable steps to prevent expiry of the product. The AI can also scan product details and add products to the inventory automatically without needing to fill the form.
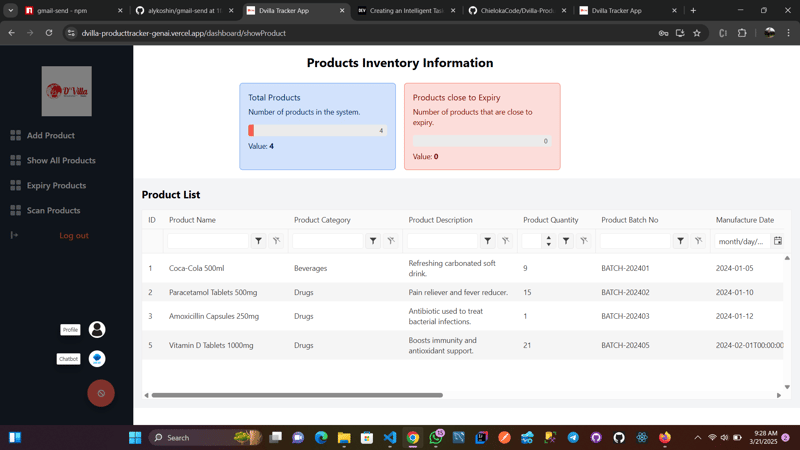
A key feature is the expiration products page, which lists products nearing expiration within two months or more, helping customers track items close to expiry. This page uses Kendo React grid components with pagination and filtering options. Users can print and export product lists as PDFs, selecting specific columns via checkboxes.
Demo
This Application utilizes Authentication but feel free to use dummy data (Email and password) to register and login.
The Application is built on React for the frontend and includes 10 or more KendoReact free components which I will list out below
Public Url: Product Expiry Tracker AI
Github code: Github
App Screenshots
Video DEMO
KendoReact Experience
KendoReact Free Components is a game changer used to design and develop business applications with React. It has over 50+ free components in which I used the under listed for this project. It really shaped my user experience flow due to its great UI and its heavy use in this project helped me to do so much with so little code. I just had to pick the component and customize the props to fit the project.
KendoReact Free Components Used
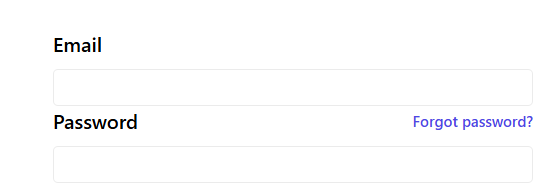
1 Kendo Label and Input components
import { Label } from "@progress/kendo-react-labels";
import { Input } from "@progress/kendo-react-inputs";
<Label className="font-medium" editorId="firstName">
First Name
</Label>
<Input
id="firstName"
disabled
name="firstName"
type="text"
value={firstName}
onChange={}
/>
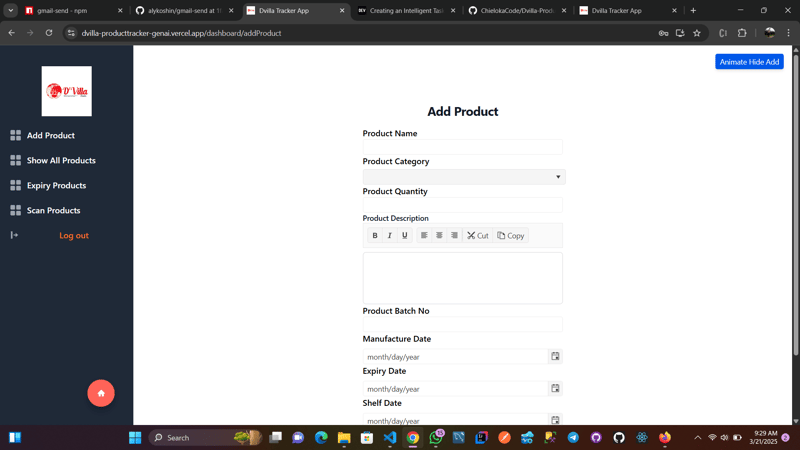
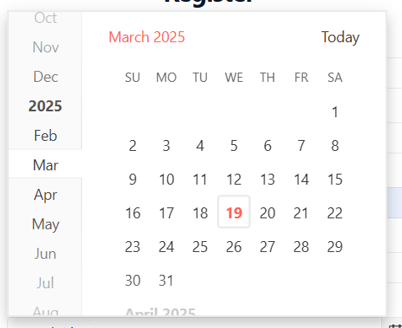
2 Kendo DatePicker
import { DatePicker } from "@progress/kendo-react-dateinputs";
<DatePicker
  className=""
  name="dob"
  value={dob}
  onChange={}
/>
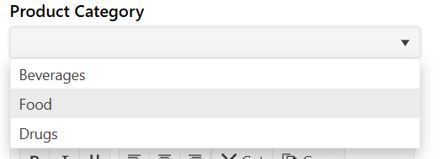
3 Kendo DropdownList
import { DropDownList } from "@progress/kendo-react-dropdowns";
<DropDownList
  style={{
  width: "390px",
 }}
 data={sex}
 value={gender}
 defaultValue="Male"
 onChange={}
 name="gender"
/>
4 Kendo Notification
import { Notification } from "@progress/kendo-react-notification";
<Notification closable={true} type={{ style: "error", icon: true }}>
 {error}
</Notification>
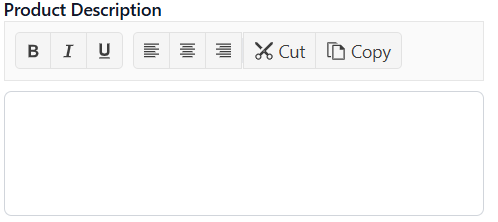
5 Kendo Toolbar, ToolbarSeperator, Button and ButtonGroup
import {
  Toolbar,
  ToolbarSeparator,
  Button,
  ButtonGroup,
} from "@progress/kendo-react-buttons";
<Toolbar>
  <ButtonGroup>
    <Button
      className="k-toolbar-button"
      svgIcon={boldIcon}
      title="Bold"
      onClick={() => onFormat("bold")}
    />
</ButtonGroup>
</Toolbar>
6 Kendo Grid, GridColumn
import { Grid, GridColumn as Column } from "@progress/kendo-react-grid";
<Grid>
   <Column field="id" title="ID" filterable={false} width="40px" />
   <Column field="productName" title="Product Name" width="240px" />
</Grid>
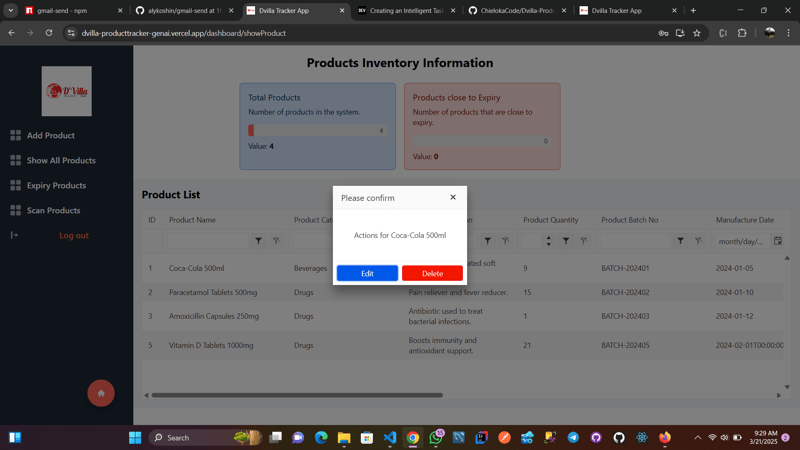
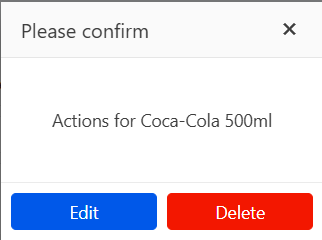
7 Kendo Dialog, DialogActionBar
import { Dialog, DialogActionsBar } from "@progress/kendo-react-dialogs";
<Dialog title={"Please confirm"} onClose={toggleDialog}>
  <p style={{ margin: "25px", textAlign: "center" }}>
    Actions for {selectedProduct.productName}
  </p>
 <DialogActionsBar>
    <Button themeColor="info">
     Edit
    </Button>
</DialogActionsBar>
</Dialog>
8 Kendo Checkbox
import { Checkbox } from "@progress/kendo-react-inputs";
 <Checkbox
    type="checkbox"
    id={}
    name={}
    defaultChecked={}
    onChange={}
    label={}
 />
9 Kendo Card, CardTitle, CardBody
import { Card, CardBody, CardTitle } from "@progress/kendo-react-layout";
<Card style={{ width: 300 }} type="info">
  <CardBody>
    <CardTitle>Total Products</CardTitle>
       <p>Number of products in the system.</p>
    </CardTitle>
  </CardBody>
</Card>
10 Kendo ProgressBar
import { ProgressBar } from "@progress/kendo-react-progressbars";
<ProgressBar value={productLength} />
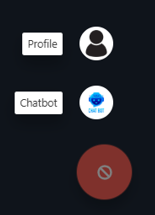
11 Kendo FloatingActionButton
import { FloatingActionButton } from "@progress/kendo-react-buttons";
<FloatingActionButton
   svgIcon={open ? cancelIcon : homeIcon}
   items={navLinks}
   item={CustomItem}
   positionMode="absolute"
   modal={true}
   onOpen={handleOpen}
   onClose={handleClose}
/>
AIm to Impress
I integrated AI technology with OpenAI.
Here users can ask the AI questions relating to the products in the inventory/database such as to get all product expiring dates, summarize products close to expiry, actionable steps and with the help of the product quantity predict products that should be understocked or overstocked in the next purchase.
Users can also scan product details through the use of the camera and the AI will be able to deduce the Product Information from the image, then a Kendo Button had been added so as if the user is satisfied with the AI output, the product will then be saved to the database. This is a shortcut to the stress of individually filling the "Add Product" form
AI Integration Pictures
